

Curl Knowledge Base

How to Wear Hats Without Ruining Your Curls: Opt for Satin Beanies
Winter is (almost) here and while hats are essential in the colder months, they can also bring problems with them. Friction, static, and compression can flatten your curls, cause frizz, or even cause breakage. The solution? Satin-lined beanies and silk hats that protect your curls. So here’s how to keep your head warm without sacrificing any curl definition. Choose the Right Hat Material Not all hats are created equal when it comes to curly hair. Wool, cotton and acrylic hats create friction that leads to frizz, dryness and breakage. I love cotton due to its breathability, so I do have quite a few cotton hats and scarves, but I have also started to invest in satin and silk hats. Best options: Satin-lined beanies – These have a smooth interior that protects your curls from friction. And if you're looking for a high-quality satin beanie, consider the Miribel Naturals Satin Lined Beanies. Silk-lined hats – Similar benefits to satin, with added luxury, but also are better options if you are avoiding polyester. Loose-knit beanies – Allow your hair to breathe whilst still providing warmth If you already own hats you love, you can sew a satin or silk lining inside or wear a satin bonnet underneath. Another option is to avoid wearing hats all day, outside of satin and silk beanies. Make sure to limit your wear to a few times a week, a few hours a day. Never Wear a Hat on Wet Hair We've all done it, styled our hair on wet hair and put a hat on, only to take your hat off to reveal a dome of hair. Sometimes domes are unavoidable, even on dry hair, but with wet hair, it's at its most vulnerable, and trapping it under a hat can lead to: Breakage from friction Mildew and unpleasant odours Loss of curl definition Discomfort from the cold Always ensure your hair is completely dry before putting on a hat. If you're short on time, focus a blow dryer (with a diffuser) on your roots to speed up drying. Hat-Friendly Styles Some hairstyles work better with hats than others. Best hat-friendly styles: Low buns or ponytails Two-strand twists Braids Avoid wash-and-go styles on days you'll be wearing a hat, as they're most susceptible to flattening and ‘hat hair’, unless it is on old wash and go. Apply Lightweight Products The last thing you want to do is stain your hats with hair product. For this reason, we recommend using lightweight products like leave-in sprays and making sure your hair is fully dry before putting your hats on. Pre-hat routine: Apply a light oil or serum to your mid-lengths and ends Use an anti-static spray or a tiny amount of leave-in conditioner Smooth down flyaways with a bit of edge control or gel Air dry or use a blow dryer. This creates a protective barrier between your hair and the hat material. Quick Fixes for Hat Hair If your curls have succumbed to ‘hat hair’, there are a few fixes to try out. Flip your head upside down and gently shake at the roots Use a pick or your fingers to lift flattened sections Lightly mist with water or a curl refresher and scrunch Apply a small amount of cream or mousse and re-scrunch Final Thoughts With the right materials, techniques, and a bit of planning, you can keep your curls looking great all winter long, without sacrificing warmth for style. Invest in a satin-lined beanie, master hat-friendly styles, and protect your hair from the cold. Your curls (and your head) will thank you.
Read moreCurl Knowledge Base

3 Low-Maintenance Curly Hairstyles for Winter
Winter can be brutal on curly hair. Cold, dry hair strips moisture, whilst scarves and jumpers create friction that leads to frizz and breakage. But you don’t need to sacrifice style for convenience. These five low-maintenance hairstyles will protect your curls, minimise daily styling, and keep you looking effortlessly put-together all season long. 1. Mini Twists Mini twists on natural hair are one of the most low-maintenance hairstyles you could do. Start by washing your hair, then apply a leave-in conditioner and blow-dry until completely dry. Part your hair into medium sections and braid each section into a plait (this keeps the hair separated and makes twisting easier.) Unravel one braid at a time and split it into at least two sections to twist from root to tip. Then repeat across your whole head. This style can last up to two weeks without needing to be washed or redone. Best for: curly and coily hair 2. Simple Twist-Out A twist out gives you defined, voluminous curls with minimal upkeep. Start with freshly washed, damp hair. Apply a leave-in conditioner or a curl cream to each section. Divide your hair into medium to large sections and create two-strand twists (or three-strand for more definition). Leave hair to air dry or use a blow dryer for faster results. Once your hair is fully dry, unravel each twist with a bit of oil on your palms. This style will last 3-5 days. Tip: Sleep on a satin pillowcase for best results. Best for: curly and coily hair 3. A Curly Bun In winter, it is best to keep your hair protected from the cold air. One way of doing so is a loose bun, such as a twisted or braided bun or even a curly bun that showcases your natural texture. Apply cream or a leave-in conditioner to dry hair (as styling on wet hair in cold conditions could lead to breakage and discomfort). Gently gather hair at the nape of your neck and twist it into a bun. Secure your hair with a hair tie and bobby pins. Best for: medium to thick hair, wavy to curly textures Quick Winter Protection Tips Invest in a satin beanie and a satin hoodie Deep condition weekly to combat dryness Trim your hair every 2-3 months (specifically for those fine-haired girlies) Introduce co-washing as needed Don’t leave the house with wet hair Final Thoughts Winter hair care is all about protecting your curls while reducing daily styling. Some of these styles, like mini twists, require initial time investment but pay off with weeks of low manipulation. Others, like a simple bun, take just minutes. Find what fits your hair routine, and let your curls thrive all season long.

Do You Need a Deep Conditioner If You Have Wavy Hair?
Knowing if you need to deep condition your hair isn’t a yes or no question. In fact, it’s hard to know even with a picture. It’s how your hair feels, it’s how your hair behaves and if it’s virgin or not. That being said, you might not need to deep condition as much as your curly and coily hair counterparts. So the question is do you really need the extra moisture? The short answer - if there was one - would be ‘it depends.’ Understanding the Wavy Texture Wavy hair tends to fall somewhere between straight and curly on the texture spectrum. This means it can be prone to dryness at the ends but may still get oily at the roots. Regular conditioners keep your hair soft and manageable, but a deep conditioner can provide the extra hydration and strength your waves need to stay healthy, bouncy, and frizz-free. So what we recommend is to try out a deep conditioner like the Bounce Curl Ayurvedic Deep Conditioner, as it is loved by a wide range of wavies and see if it makes a difference. The condition of your hair, the time of year, your lifestyle (like if you swim regularly in chlorinated pools), and your overall curly hair routine will all make a difference. How to Use a Deep Conditioner for Wavy Hair Using a hair mask or deep conditioner once every one to two weeks can help restore moisture, improve hair elasticity, work to prevent split ends and even enhance curly definition. When using a hair mask, take note of how your hair responds to it. If your hair feels limp or greasy after deep conditioning, you might be using one that's too heavy. Instead, try a lightweight or protein-based deep conditioner and focus it on your mid-lengths and ends (avoid your scalp). Winter vs. Summer Deep Conditioning We recommend deep conditioning more often during the autumn and winter seasons, as the cold air outside and central heating inside create the perfect conditions for moisture loss. Your seasonal hair care routine should adapt: increase deep conditioning to weekly treatments in winter, then scale back to bi-weekly in spring and summer or skip it all altogether unless you’re swimming or have had your hair dried out by the sun. Where to Find the Best Wavy Hair Products Looking for the best hair products for wavy hair? You can buy wavy hair products online or visit our curly and wavy hair shop in Romford. We're your go-to beauty supply shop in Essex and online. Whether you need wavy hair products for your daily curl routine or want to stock up on your favourite skincare and beauty essentials, we've got you covered.

How to Wash your Hair While in Braids: A Complete Guide
Braids are a great low manipulation styles to get your hands out of your hair and give it a break. But with every hairstyle comes with a set of dos, don’ts and helpful notes. One important ‘do’? Wash your hair regularly - at least every 12 days, though I recommend washing every 7-10 days for optimal scalp health. Why is Washing your Braids so Important? Despite the fact that braids are low maintenance hairstyles, your scalp continues to produce naturals oils, which over time combine with product build up, dirt and sweat to accumulate on your scalp. Remember: ‘Dirty hair hair does not grow.’ Regular cleansing is necessary to promote scalp health, prevent itching, and create the right environment for hair growth. So if your hair is feeling itchy don’t be tempted to add more oils, that’s your scalp telling you it needs a wash. The Step by Step Braid Wash Tutorial 1 - Grab a spray bottle and fill it up with water. 2 - Then pour a little bit of clarifying shampoo into the spray bottle (as much as you would directly apply to your scalp.) 3 - Shake up your spray bottle and spray it all other your scalp, covering every part and section, using your palms to massage your scalp. 4- Then empty the spray bottle filling it with warm water to rinse out any suds. Take your time to rinse out any trapped build up. 5 - Gently squeeze out any excess water with a microfiber towel or t-shirt. 6- Now apply a lightweight spray leave in or oil to your strands. Here’s another great braiding routine to follow: View this post on Instagram Drying Your Braids Allow your braids to air dry completely before leaving the house. Use a hooded dryer or a blow dryer if you have one on hand. Avoid sleeping on wet hair, as sleeping on damp braids can lead to mildew and unpleasant odour. Need Help With Your Wash Day Routine? Maintaining your braids does not have to be complicated. With the right products, and a consistent hair routine, you can ensure your scalp flourishes under your braids. At Kiyo Beauty, we understand that every head of hair has its own needs. So whether you're looking for a gentle clarifying shampoo that won't strip your hair, a nourishing leave-in conditioner to keep your scalp moisturised, or expert advice on caring for your specific hair type, we've got you covered. Need expert advice on caring for your hair, no matter the hairstyle? Our team is here to help you thrive on your hair journey. Ready to elevate your braid care routine? Reach out for personalised product recommendations.

Stronger, Healthier Curls All Year-Round: Tips You Actually Need
Your hair goes through a lot every season, and even with the best intentions and the most popular curly hair products, damage can still occur. However, if we prioritise strength over appearance, our curls will have the chance to truly flourish. All you need is to follow a few simple steps in your hair routine and perhaps invest in some helpful product suggestions. 1. Hydration Hydration Hydration Water is essential for healthy curls, both inside and out, so here’s how you can ensure your curls stay juicy no matter what: ● Drink at least 2 litres of water per day ● Use leave-in products with water as a top ingredient, like Kitsch Moisturising Argan Milk Leave-In Conditioner ● Refresh your curl definition with a light water spritz between wash days ● Avoid keeping hair constantly wet, and save dripping wet hair for wash day only 2. Don’t Be Afraid of The Trim Stop holding onto dead ends that don’t serve you. I get a trim every 2-3 months, but everyone's hair is different. Talk with a trusted hairdresser about how often you should trim, or if you're skilled enough, try it yourself. Regular cuts keep your curls looking their best. 3. Keep Products Off Your Scalp Your scalp produces natural oils and doesn't need heavy products. Heavy product buildup can block pores and prevent hair growth. So here’s what you need to do: ● Apply leave-ins, creams, and gels from mid-length to ends only ● Rinse away any gel that lands on your scalp ● Use scalp-friendly products like Curlsmith. 4. Swap Plastic Brushes for Wood Upgrade your detangle routine with better tools. Plastic can create static, which causes further frizz and breakage. But another benefit of wooden brushes is that they naturally distribute oils, adding natural shine and moisture. Try out the Abyssian Classic Schima Wood Paddle Brush for gentle detangling and frizz-free results. 5. Shop Smart for Strong, Frizz-Free Hair Healthy hair is achievable, but it will take some kind of maintenance, and so consistency is key. Whether you’re looking for the best curly hair products, want to buy curly hair products online, or shop locally at a curly hair shop in Romford, Kiyo Beauty has you covered with products designed to keep your curls hydrated, defined, and frizz-free.

What is hair shrinkage and why are we so afraid of it?
If you have wavy, curly or coily hair, then you likely deal with hair shrinkage on a regular basis. But what does this actually mean, and is shrinkage something we should combat? What is Shrinkage? Picture this: Two girlfriends haven't seen each other for a while. Ashley has naturally curly hair, but ever since Vanessa has known her, she has worn it straight, blow-dried, or in braids. Recently, Ashley decided to wear her natural curls out. Vanessa: “Hi Ashley, I love your new haircut! It's much shorter than before, and your curls are beautiful.” Ashley: “Thanks Nessa, but I haven't cut my hair. It's just hair shrinkage.” Sound familiar? This conversation happens all the time, even within the natural hair community. Shrinkage is occurs when wavy, curly or coily hair appears shorter as it dries. When wet, hair is stretched out, but as it dries, its spiral or zigzag pattern tightens, causing the strands to “shrink.” Depending on your curl type, shrinkage can reduce visible length by up to 90%, especially for tighter textures. Methods to Reduce Hair Shrinkage If you are looking to maintain the look of longer hair, then several techniques can help minimise shrinkage, such as: Sectioning your hair after styling and weighing it down with multiple hair ties (use satin hair ties to reduce frizz.) This method is called ‘banding’ - make sure the hair elastics are evenly spaced. Braiding or twisting your hair until it is dry and then take it out for a curl-defined twist out or braid out. Blow drying your hair with a diffuser attachment or use the tension method to reduce shrinkage. Be sure to use a heat protectant. Style your hair in a loose bun or puff to reduce shrinkage. Use products that target shrinkage specifically, like the Creme of Nature Pure Honey Pure Honey Shrinkage Defense Curl Activator Using heavier creams, butters and gels that weigh down the hair whilst providing significant moisture. Why Embrace Shrinkage Shrinkage is a sign of healthy hair, and it also means that your hair is properly hydrated. Shrinkage also makes your hair versatile - you can rock a short fro or wear it stretched out. And while challenging Eurocentric beauty standards is empowering, how you wear your hair is ultimately up to you. No matter how you choose to wear it, your natural hair is beautiful. But there's definitely something liberating about letting your hair exist exactly as it grows from your scalp, without manipulation or alteration. Ready to Transform Your Curl Game? Still have questions about shrinkage? Don’t worry, our friendly team is here to help you achieve the best day 1, 2, 3 plus curls. Contact our dedicated team at hello@kiyobeauty.com or check out our Kiyo Journal.
Finger Coiling vs. Brush Styling
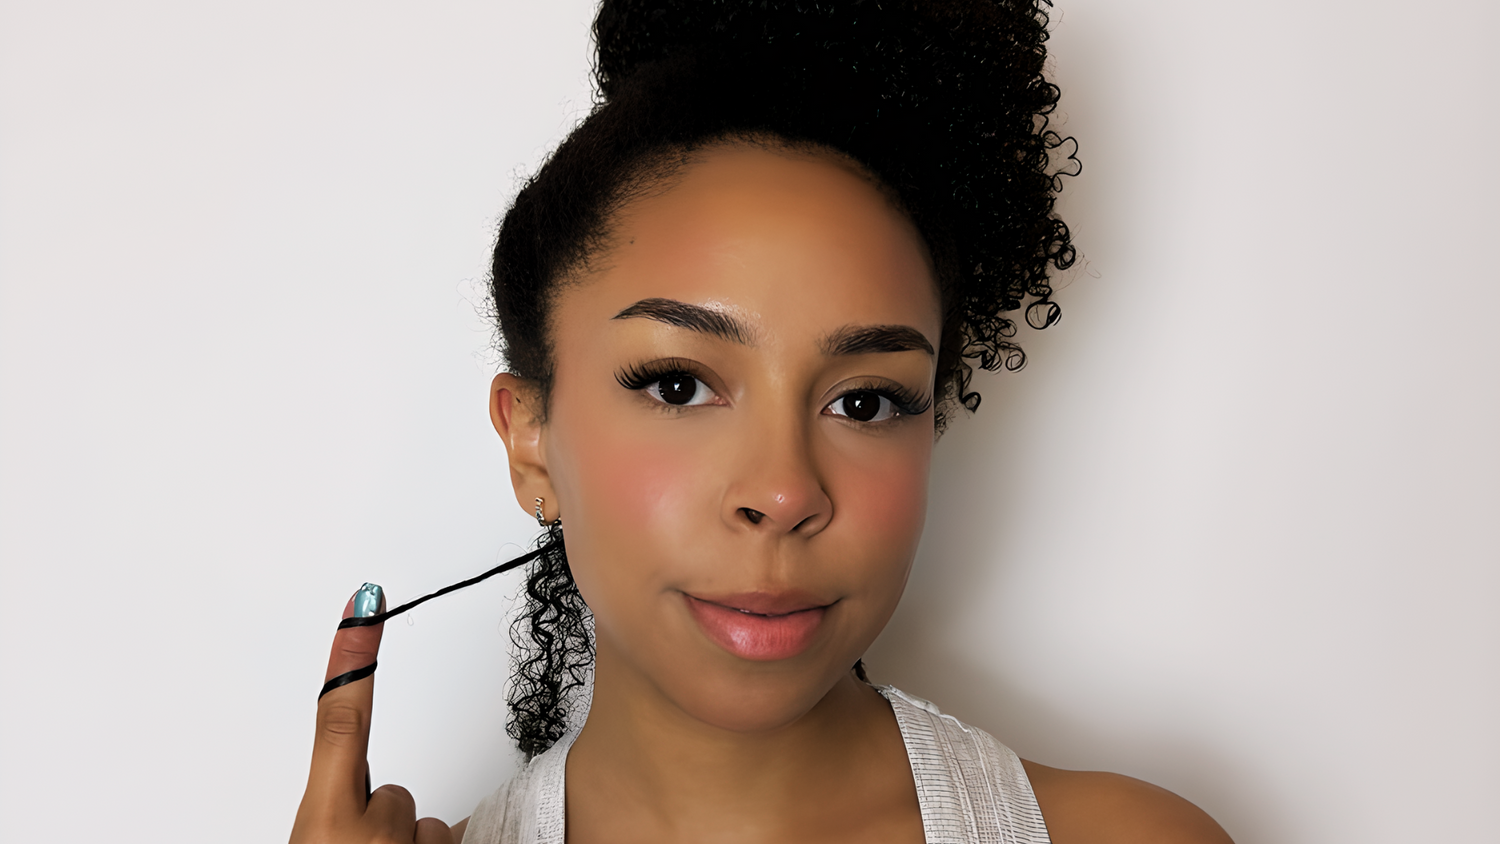
Achieving optimum curl definition is something every curly-haired person strives for, and there are several techniques to help you get there. There's no right or wrong way, but there are popular methods, and two of the most popular methods are brush styling versus finger coiling. But which method will help you achieve the most defined curls? And if you were pushed to make the decision, which one would you choose? What Are These Techniques? Finger Coiling Finger coiling or curling is when you twirl your hair around your fingers. This technique makes sure that each section of hair is defined by manually shaping each curl to create uniform spirals. Essentially, you're enhancing your natural curl pattern - so if your natural curls form an S shape, finger coiling transforms them into tighter, more defined spring-like spirals. So what are the pros and cons of finger coiling? Pros: Enhanced curl definition Keeps its shape for days without frizzing up Low maintenance style Cons: Can take a long time to do a whole head of hair (at least an hour for me, and even for some with a lot of hair it can take them 2 hours to finger coil) More shrinkage than most other styling methods Requires practice Brush Styling Brush styling, on the other hand, uses tools like the beloved Denman brush or maybe the new Scrunch It Brush to encourage your hair's natural curl pattern. Rather than creating new curl shapes, this method works by smoothing the hair cuticle and grouping strands together to form defined curl clumps. The brush helps eliminate frizz whilst maintaining your hair's natural texture and movement, though it can manipulate your curls in the process. But what about the advantages and disadvantages of brush styling? Pros: Much quicker method than finger coiling Can be completed in 10-15 minutes Great for busy mornings Cons: Not easy to use - I rarely get perfect curls with a Bounce Curl brush, but I think that's mostly user error Gives you a crazy amount of shrinkage, more than you would get without manipulating your curls and more than finger coiling Can create slightly more frizz than finger coiling Might be more damaging than finger coiling, as it puts stress on the cuticle due to the tension How to Do Each Method Finger coil Start with damp or soaking hair, use a spray bottle filled with water, and apply your favourite leave-in conditioner all over. Then use crocodile clips or a few trusty scrunchies and put your hair into four large sections. Use cream or hair gel. I suggest the Kurl Kitchen Cream for definition, or if you prefer a gel, the Curl Bites Mega Definition Strong Hold Gel. Take pencil-width sections and wrap each piece around your finger from root to tip and then gently release. Remember to always coil in the direction your hair naturally curls. Finger coiling can be done either starting from the root to the tip (as above) or the tip to the root, depending on desired results and your curl hair type. The key is consistency - the same tension, the same direction, every time. Don't worry if your sections aren't perfect or if your curls aren't all the same size. Brush style Brush styling should be done on very damp or soaking wet hair—doing it on dry or lightly damp hair can cause frizz. Make sure your styling products (like the ones we recommended earlier) are already applied to wet hair before you begin. Section your hair and brush through from root to tip Scrunch upwards to encourage curl formation (but only do this if your hair has been thoroughly detangled prior, from tip to root). Focus on creating those natural curl clumps rather than individual spirals. Which Method is Right for You? For me, I prefer the results of finger coiling, but I'll be honest, it actually takes forever. So if you don't have the time and are in more of a rush, I would suggest brush styling, which can be done in 10-15 minutes. Consider your time constraints first. Finger coiling can take 30-60 minutes or more, depending on your hair length and thickness, whilst brush styling can be done in 10-15 minutes. But for me, brush styling makes my curls slightly more frizzy, so I'll have to finger coil those strands of hair. That being said, if you want a more natural, effortless look, brush styling is great, whilst finger coiling offers precision and uniformity. Want to explore more curl care tips and product recommendations? Check out our blog for expert advice on achieving your perfect curl routine.

Humectants
Humectants are an absolute game-changer for keeping your hair hydrated, frizz-free, and shiny, especially for curly hair types. They work by pulling moisture into your hair, ensuring your curls stay soft, healthy, and bouncy. Look for products with humectants like glycerin, honey, and aloe vera to give your curls the moisture boost they need. And remember, balance is important—combine humectants with emollients and occlusives for the best results.
What are deep conditioners for?
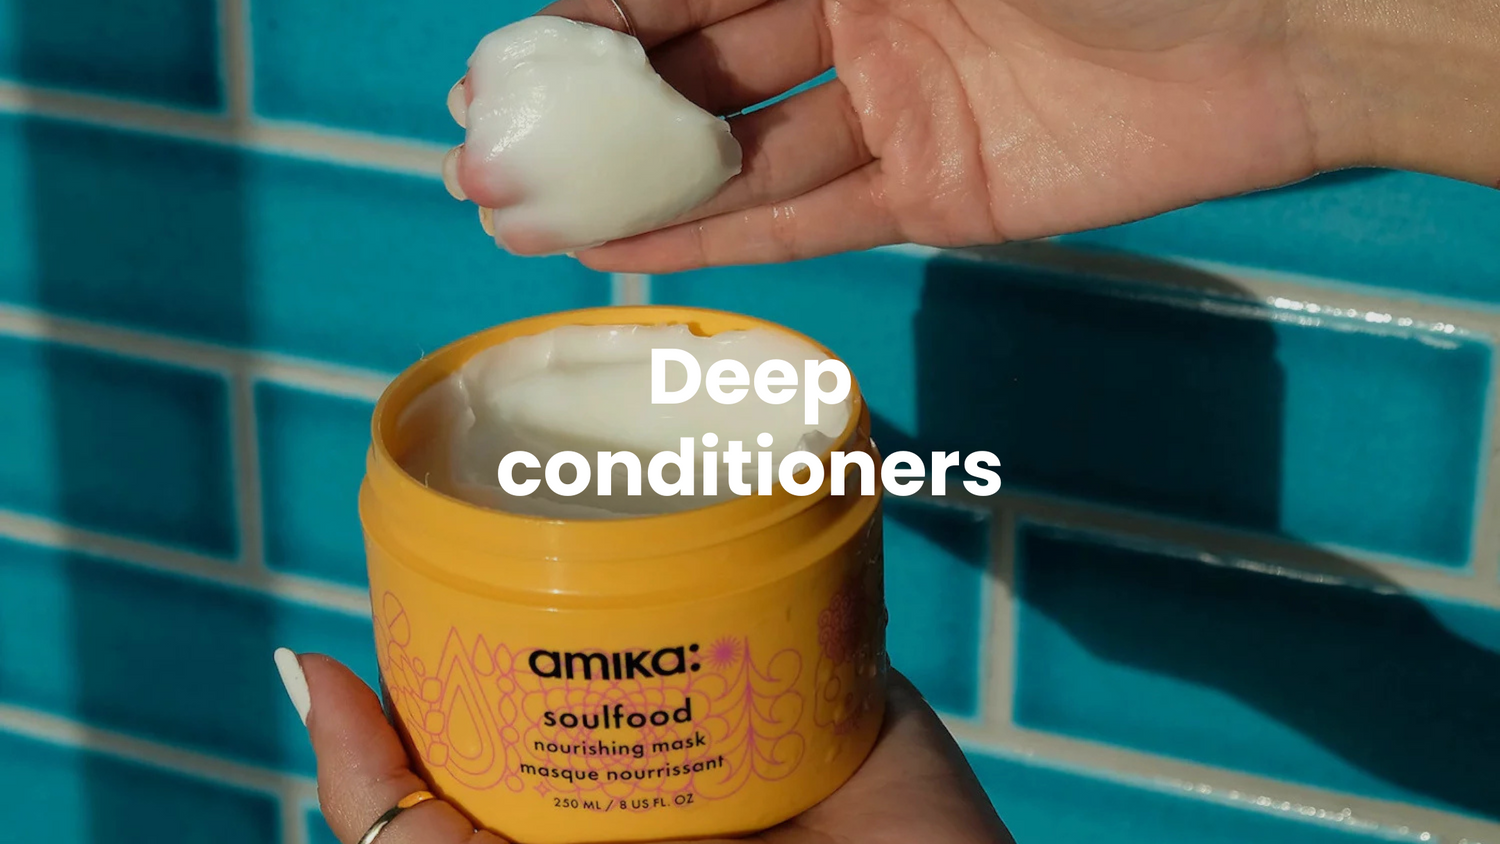
If you have curly hair (or any hair type that’s prone to dryness, damage, or frizz), deep conditioning should be a key part of your hair care routine. Whether you’re combating dryness from heat styling, chemicals, or the weather, deep conditioners provide the moisture and repair your hair craves.
Rinse-Out vs. Leave-In vs. Curl Cream
If you’ve ever found yourself staring at a shelf full of curly hair products, unsure of what to pick, you’re definitely not alone! Three products that often get confused are rinse-out conditioners, leave-in conditioners, and curl creams. Each one has a unique role, but it’s easy to mix them up, especially when you're looking to tackle frizz, dryness, or enhance your curl definition. In this post, we’ll break down the differences between these three products and help you figure out which one (or combination!) is best suited for your curls. Let’s dive in! Feature Rinse-Out Conditioner Leave-In Conditioner Curl Cream Primary Function Deep hydration and detangling after shampooing Moisturizes and protects curls all day Defines, shapes, and enhances curl pattern When to Use After shampooing, rinse out after 2-5 minutes Applied after washing, left in to work all day Applied on damp hair, styled for definition Moisture Level High, provides deep hydration Light to moderate hydration, without weighing down curls High, deeply nourishes curls for definition Curls Impact Softens, detangles, and repairs curls Hydrates, reduces frizz, and enhances curl pattern Defines and shapes curls, adds bounce and shine Texture Creamy, thicker consistency Lighter, milky, or gel-like consistency Creamy or whipped, often thicker than leave-in conditioner Effect on Frizz Helps reduce frizz when used with proper rinse Controls frizz by sealing moisture into curls Tames frizz and gives curls a polished, bouncy look How Long to Leave It On 2-5 minutes, rinse out Left in hair, no rinsing Left in hair, typically for styling and long-lasting definition Best for Dry, damaged, or tangled hair that needs repair Fine to medium curls that need all-day moisture and protection Curly or coily hair needing extra definition and structure Can Be Used Alone? No, requires rinsing Yes, can be used alone for light styling Yes, especially for curl definition without added products Slip (Ease of Detangling) High slip, excellent for detangling hair Moderate slip, provides some detangling but not as effective as rinse-out conditioners Low to moderate slip, not designed primarily for detangling, but helps with curl separation and definition Detangling Excellent for detangling, smooths out tangles Helps with light detangling, but not as effective for severe knots Helps with curl separation, but may not be as effective on very tangled hair Additional Benefits Detangles, adds shine, strengthens hair Adds a lightweight layer of protection, fights frizz Defines curls, adds softness, reduces crunchiness Do You Need All Three? Not all at once: You can definitely skip one or two depending on your hair needs and routine. For daily care: Rinse-out conditioner is a must for hydration and detangling. You can use it in the shower to ensure your hair is soft and moisturized. Leave-in conditioner can be used daily for added moisture and frizz control, especially if your curls tend to dry out easily. For extra curl definition: If you want your curls to be more defined, bouncy, and shiny, curl cream is a great option. It’s especially helpful if you want to boost your curls' structure and maintain that natural bounce. What’s the Most Efficient Combo for my hair type? For wavy hair: You might get away with just a rinse-out conditioner and leave-in conditioner. A curl cream is optional if you want to define your waves more. For curly hair: The rinse-out conditioner and leave-in conditioner are important, and curl cream will help define your curls and keep them bouncy. For coily hair: You’ll benefit most from a rinse-out conditioner, leave-in conditioner, and a curl cream to keep your coils defined, hydrated, and frizz-free. Low density, fine texture The key is to choose lightweight products that hydrate without weighing your hair down. Focus on lightweight hydration and frizz control. A good rinse-out conditioner and a light leave-in will be all you need for soft, bouncy, and defined waves or curls. Key takeaway Start simple: A rinse-out conditioner and leave-in conditioner might be enough for moisture. Use curl cream for definition or when you want extra hold.

Curl Creams
Do You Really Need a Curl Cream? When it comes to curly hair care, there's no shortage of products claiming to be the miracle cure for frizz, dryness, and lack of definition. But one product that has become a staple in many curlies' routines is curl cream.
What is Squish-to-Condish?
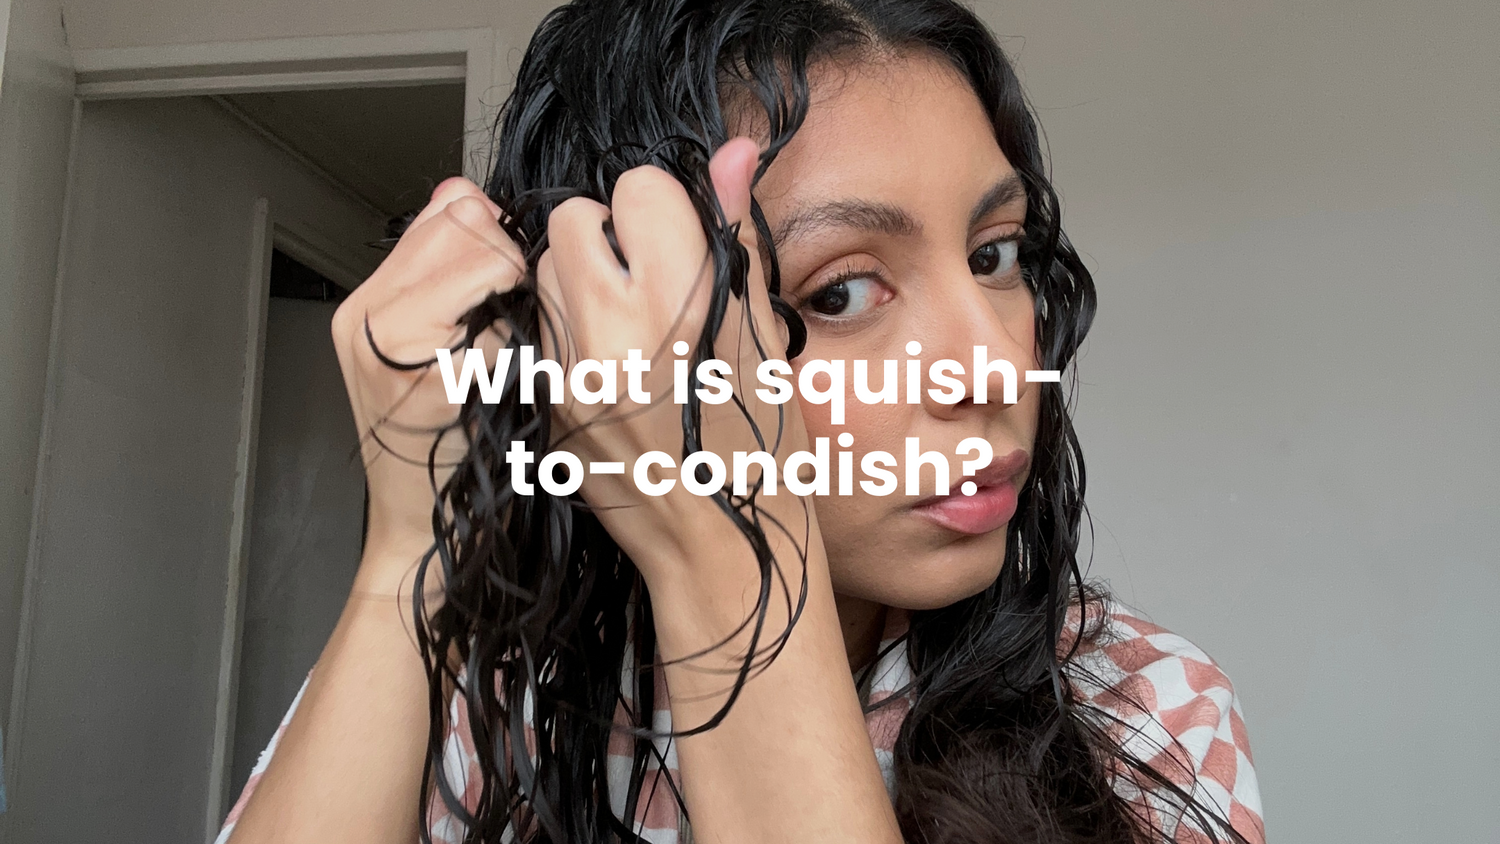
Squish-to-condish is a method of encouraging curl formation right from the start of your wash day routine. By gently squishing conditioner and water into your hair using cupped hands, you encourage natural curl clumps to form while locking in essential moisture.

